Creating a Destination
Before you publish a project through MadCap Flare, you must identify the network, website, or server from which the project can be accessed. A destination tells Flare where to send output files. You can create multiple destinations to send output to many locations.
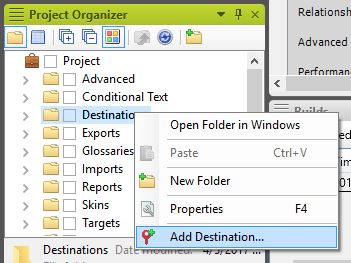
- Right-click the Destinations folder in the Project Organizer. A context menu appears.
- Select Add Destination.
- Select the radio button next to “New from template.”
- Select MyDestination in the Factory Templates folder.
- Click Add. The Destination Editor appears.
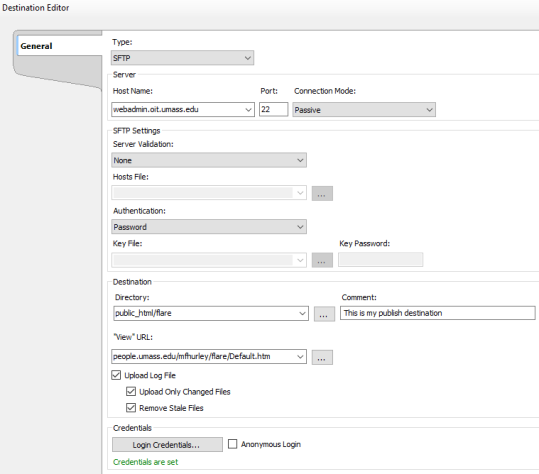
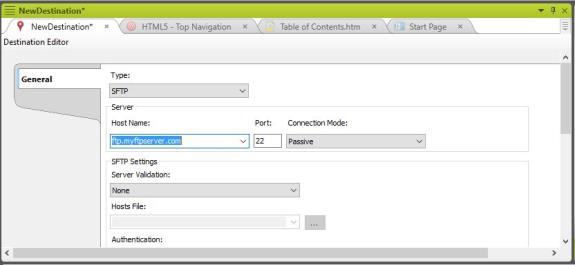
- Select SFTP from the drop-down menu under “Type.”
- Type the name of the server you want to publish to in the “Host Name” field.
- Type the port number in the “Port” field.
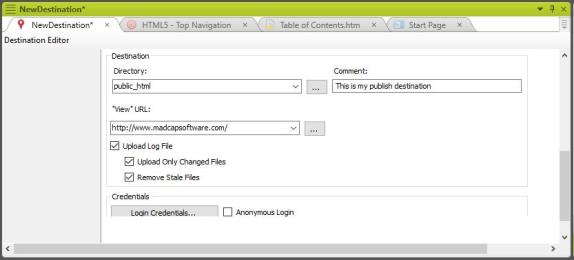
- Click the ellipses next to “Directory” and select the folder you created in step 1.
- Click OK.
- Type the url address where the Flare output can be accessed in the “‘View’ URL” field.
- Click Login Credentials and enter your username and password to access the server you specified in the “Host Name” field.
- Click OK.